I’m a bit stuck with a weird issue. Firstly, I’m very new to working with Unreal 4 so forgive my lack of experience.
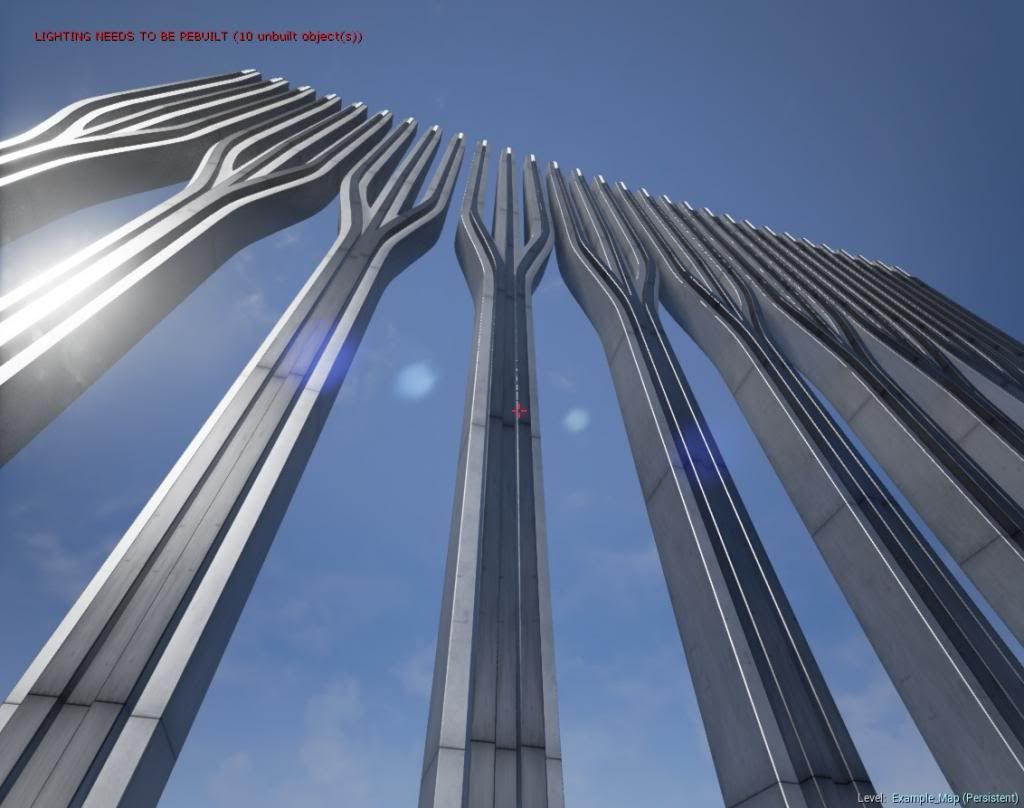
I’ve made a tripod building column object with some metal materials added onto it. When I place the tripods inside an example scene with the basic blocks and shootable cubes it looks fine:
Image 1
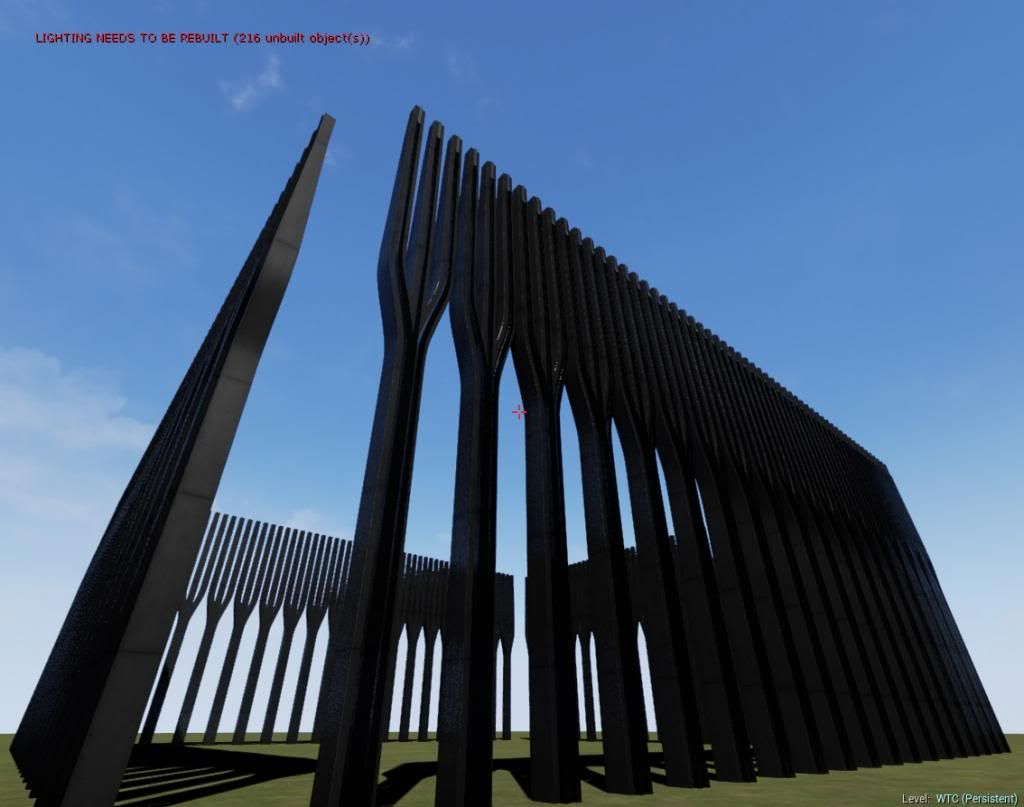
However, when I place the same tripods in a default scene (with nothing but a blank surface) the reflection on the material somehow turns out very dark, as if the sky is not being reflected:
Image 2
(Note the shadow on the ground is pitch black as well)
Is there some kind of light setting that I forgot or a certain volume that I must add?
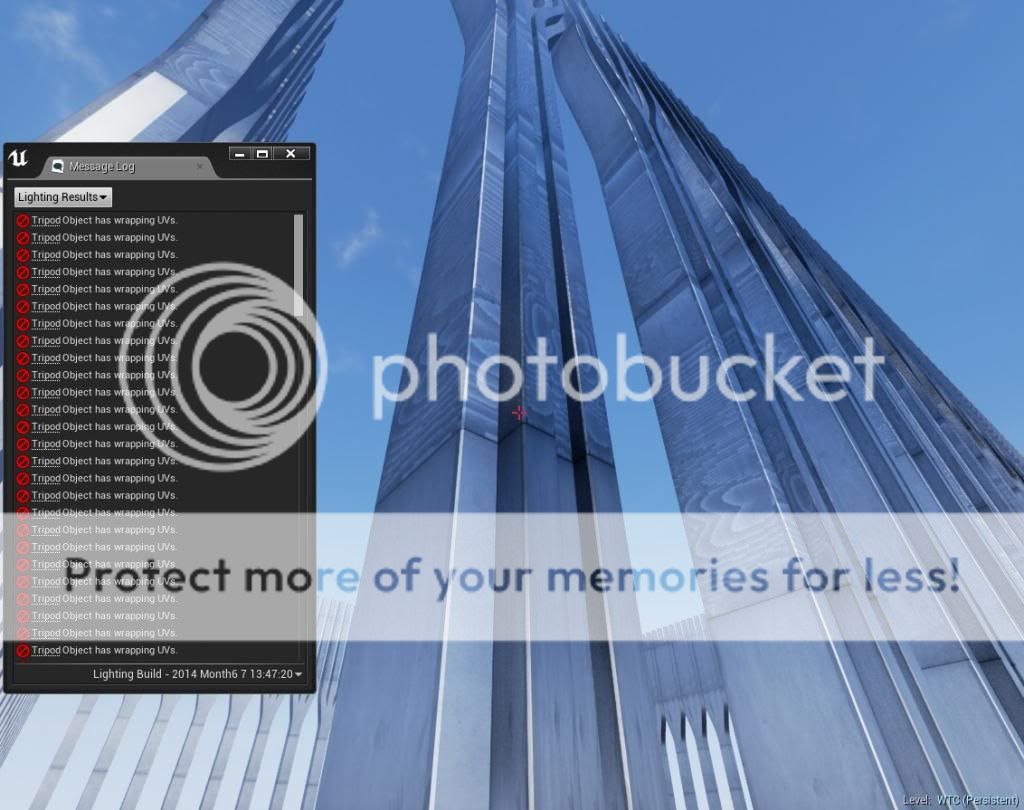
I tried rebuilding the lighting, but this gives a messed up result with wrapped UV errors and changes nothing about the reflection brightness.
But even if I did rebuilt the lighting, why would it work within the example scene but not in the default scene when the example scene has neither been rebuilt?
Hi Mr Robville,
From looking at your images you need to rebuild lighting. It says in the top left that you have 216 unbuilt objects.
You’ll also need to set up lightmaps with a second UV and adjust the lightmap resolution if you’re getting shadow errors.
The prebuilt lighting is before any lightmaps or lighting has been baked for the static objects. Lightmaps work in a way that there is a second UV channel just for storing shadow information. This information allows the engine to not store the shadow information without having to compute it at runtime.
Alternatively, you can set the meshes to be movable if you do not want to work with lightmaps. This will render dynamic shadows instead.
Some other things to consider:
- You’ll need a lightmass importance volume that encompasses your scene. This will bake lighting much quicker! This is only needed if you are using any static lighting that will bake lights. It’s not needed for Dynamic lighting
- If you place a skylight in your scene this will soften the darkness on the shadows.
If you have any other questions feel free to ask and I’ll help you out! 
Thank you!
Tim
Hello Tim,
Thanks a lot for your answer!
Adding the skylight immediately solved the problem:

The lightmass importance volume did indeed speed up the baking as well.
I’ve increased the lightmap resolution for the tripods from 32 to 256, generated a second UV and tried to build the lighting again.
The result looks a little better, but I still receive many errors about warpping UV’s and the shadows make the tripods look as if they have a wax coat:

So the initial problem is solved. But the wrapping UV errors still remain.
Again, thanks a lot for your help!
As for the “wrapped UVs” problem - you need a 2nd UV channel, where all polygons have their individual (i.e. not overlapping) space.
Add it in your 3D software or auto-generate it in Static Mesh editor.
-Oskar
Hi Mr Robville,
Since you’ve created the 2nd UV, you’ll need to go to open the mesh in the mesh viewer/editor and in the details panel to the right you’ll need to change the Lightmap Coordinate from 0 to 1. This will utilize the second UV.
A couple of other things I’d like to know if this doesn’t solve your issue:
- Did you create the 2nd UV in your 3D software or did you auto-generate in UE4?
- Can you post an image of the 2nd UV from the mesh editor? (Enable the UV button in the toolbar and select the drop down two buttons over that says UV Channel and change that to 1.
Thank you!
Tim

